Most students in colleges probably don’t have their own server hardware using the campus WiFi. There are several issues with this configuration:
You don’t control the network, so your server can go offline in case of a planned/unplanned outage
All your traffic is probably recorded
You’re probably MITMed if they’re using an SSL Proxy
You don’t know if your server will get the same IP address as the last time or not
You probably have some sort of webpage based login preventing automatic WiFi connection
You’re a normal person who does not own a server in the first place(lol)
You’ll probably not want to use such a network for anything other than Spotify and some gaming.
But, if you’re not made of money, and most of us are not, you’ll probably think of keeping a server on such a network for learning purposes. Which is exactly what I’m gonna help you do today!
The main problem that we’ll tackle here is how to configure a server that automatically connects to a WiFi network on boot even if that WiFi network requires some sort of webpage based login.
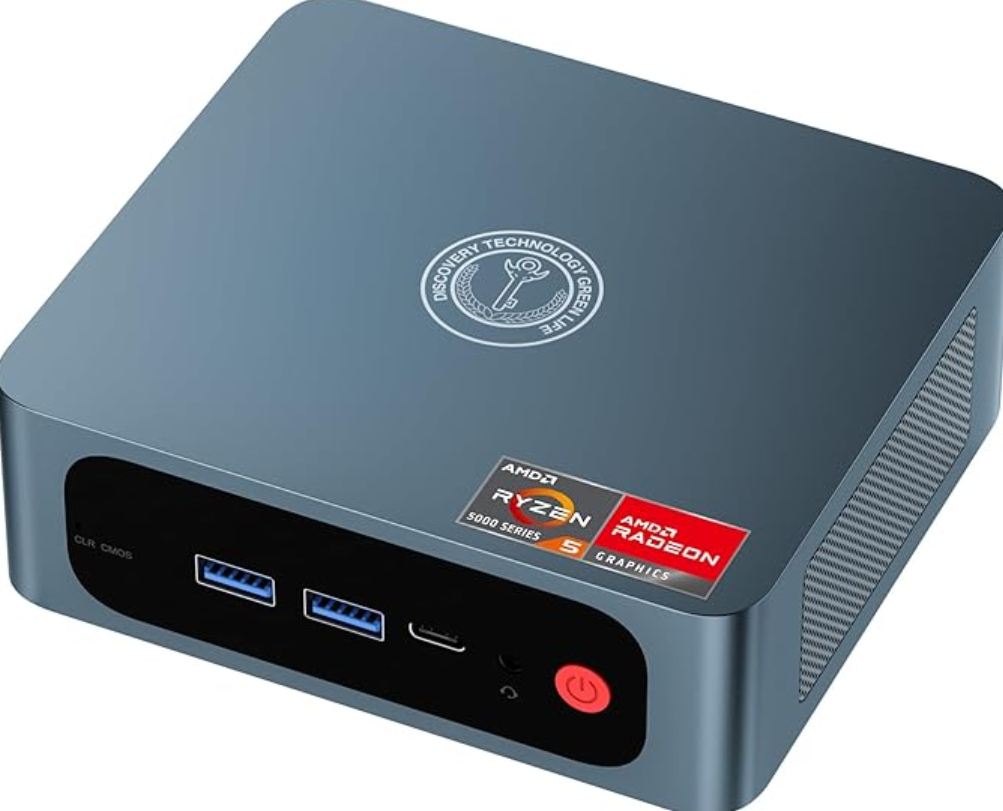
I got this super cheap mini pc from Amazon. There are cheaper as well as more expensive alternatives out there, so do your own research before buying anything like this.
Given that I’m studying internationally in Australia, I wanted something that I could carry with me in case I had to move. I also wanted something upgradeable. I’m planning to upgrade the memory to a total of 32GB once I’m able to save some money.
This thing has 12 threads and although the CPU may be of laptop class, it is perfectly usable for our use case.
If you’re not on WiFi and are connected to your network over Ethernet, then firstly, congratulations, you’re living the good life and secondly, you can probably just install Proxmox and serve VMs on the same network over a bridge. Unfortunately, Proxmox does not support this over WiFi in most cases. There are some workarounds, but they involve having some control over the network and/or some technical expertise. I’m running this server on WiFi, but you can still configure your server as mentioned in the “Configuration” section and it should work mostly the same way.
I’ll be installing Arch Linux using the archinstall command. You can also install any other Linux distros of your liking on your hardware. I like to stay on Arch because it has been stable enough for me over the years. Another thing to keep in mind is that if your server hardware has any new components, such as a recently launched CPU/GPU, then you would want to stick to a bleeding edge distro like Arch for better hardware support.
For the initial installation, you’ll need to download the ISO of your favorite Linux distribution and burn it to a USB stick. You’ll also need a temporary network in the form of a mobile hostpot or ethernet connection for the inital dependencies. In case you need to be on a mobile hotspot along with Arch Linux, you can use the iwctl command to connect from the installation media.
If you’re new to Arch linux, you can follow any of the tutorials here and come back here once the install is done.
**Important dependencies that I’m assuming that you’ll have on your OS: **
Make sure that your distro uses NetworkManager
Make sure to install a simple GUI like XFCE as we’ll need a browser later. You can uninstall the GUI toolkit and the browser once you’re done with this setup.
We can finally get to the meat of the article. You don’t control the campus WiFi and need to use it. In my case, the connection auth mechanism is also a problem because I cannot login unless I go to a website to put in my credentials. At this point open a browser on your server and connect to the campus WiFi. The webpage should automatically open up in a browser asking for credentials. Don’t put in your credentials just yet.
We need to figure out how to send the request for auth that goes to the WiFi network when we put in our credentials on that webpage.
Whenever you do anything on a browser, it sends an API request to the server that is serving that webpage. It’s the same for us when we’re on a WiFi network and trying to send an auth request. You can find the request that the browser sends and reuse it anytime you need to reconnect to the network.
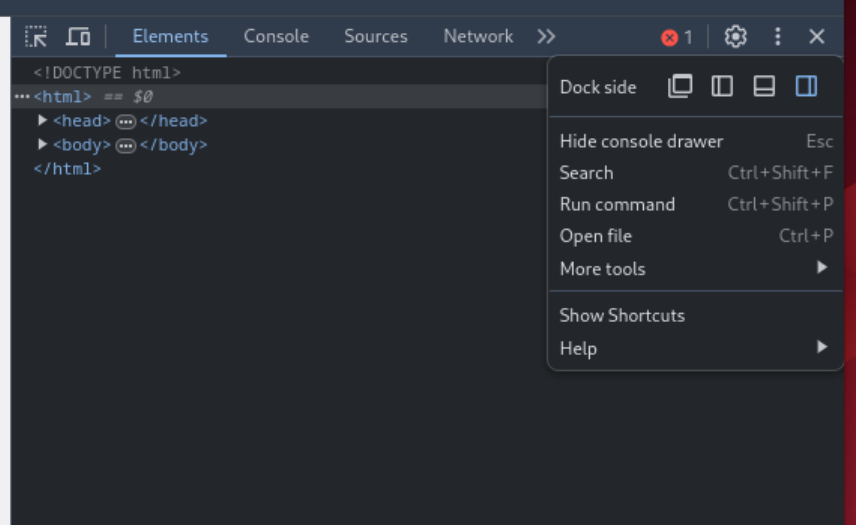
Since you’re already on the WiFi login webpage open up the Chrome dev tools like this:
Right click on the webpage > Click ‘Inspect’
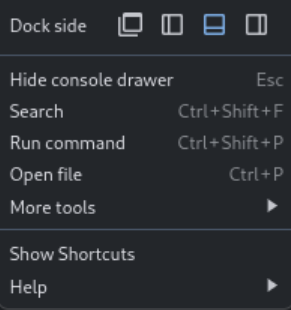
(Optional) Move the dock that opens up by clicking the ‘Dock side’ options and select ‘Dock to bottom’
To
Select the ‘Network’ section. This section records all the API requests and their responses that go between the server and your browser.
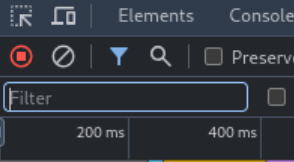
Put in your credentials and watch the Network tab update.
You may either see a bunch of requests or only a couple. In any case, this is where the handholding of this article comes to an end. You’ll need to find the request from this list that is actually carrying your credentials over the network.
You can search through the requests for your username and password under the ‘Filter’ section. If any one of the requests match, then that is the request that you’ll want to observe for the rest of the article.
Now that we’ve found the request, we need to copy it so that we can tell our server to use the same request from the CLI without opening the browser! To do this, do the following:
Right click on your auth request and copy the request as cURL
Paste it into this template. You need to update 2 things in the template below: (1) Your WiFi SSID and, (2) the cURL request
#!/bin/bash
echo 'Sleeping for 5 seconds'
sleep 5

# Replace SSID below with the name of the WiFi network
nmcli d wifi connect <SSID>
echo 'Sleeping again for 5 seconds'
sleep 5

# Your cURL request goes here!
Save the file as startup.sh and copy its absolute file location
Make the file executable
sudo chmod +x startup.sh
Test if you’re able to connect to your network. Make sure you’re disconnected from the network before running this. Do not disable WiFi or go in Airplane mode.
./startup.sh
If the command above connected you to your WiFi network, then proceed forward. Otherwise, you’ve probably copied the wrong cURL request. Go back and retry.
cd into your systemd system services dir.
cd /etc/systemd/system/
Create a file named startup.service and paste the following. Make sure to update </path/to/startup.sh> with the absolute file path that you copied above:
[Unit]
Wants=network.target
After=network.target
Description=Connect to wifi on boot
[Service]
ExecStart=</path/to/startup.sh>
[Install]
WantedBy=default.target
Enable the service
sudo systemctl enable startup.service
Now everytime your system reboots, your device will automatically connect to the WiFi!
Another thing that you can do at this point is to install tailscale and access this node remotely. I like to do this because tailscale makes it easy to get an encrypted tunnel between 2 nodes that are both on separate private networks. This allows me run SSH and other protocols over this tunnel from an entirely different network. Tailscale has bunch of other features, but that’s for you to discover!
If your campus wifi hates you like mine does, it’ll keep on sending you de-auth requests from time to time. This is generally a very good idea as a network admin as this makes sure that you only have actual devices that are readily being used on the network. However, this quickly becomes a problem when you are away for class and your server gets disconnected due to this annoying network feature. The good thing is that, at least on Linux, you can make all of these pesky problems go away with a little bit of work.
I honestly had no idea that such a useful program existed. This thing is a systemd service that gets triggered on a network change. This will run any script in the /etc/NetworkManager/dispatcher.d directory and send it 2 arguments, the interface name that had a change and the action that happened.
We don’t care much about the interface name, but action is something very interesting indeed. Let’s see how I just copied the same script above to reconnect to the network if it ever gets disconnected.
# Enable the dispatcher
sudo systemctl enable --now NetworkManager-dispatcher.service
cd /etc/NetworkManager/dispatcher.d
sudo vim startup.sh
## Copy the file contents from below!
Update the same 2 things (SSID and curl request) here as well.
if [[ "$2" = "down" || "$CONNECTIVITY_STATE" = "UNKNOWN" || "$CONNECTIVITY_STATE" = "NONE" ]]; then
  nmcli d wifi connect <SSID>
  echo 'Sleeing for 3 seconds'
  sleep 3
  # Your cURL request goes here!
fi

exit 0