Background Link to heading
So, someone told me that it was a good idea to showcase all my efforts on LinkedIn. Now, I don’t really mind doing that, but if I started showcasing all my HTB badges, it would have taken too much manual work. To avoid all that, I just extracted the json response from the HTB badges page and wrote a simple bash script to format it for a hugo post. In this post, I will show you the process of doing just that!
Extracting badges Link to heading
Your HTB badges can be found on https://academy.hackthebox.com/my-badges. However, I wanted to extract the badge information and show them on my website. To do this, I inspected the page and found the following network request as shown below.

As we can see, the application makes an API call to a ‘badges’ endpoint to get the full list of badges available. I just copied this information as I’m not interested in automating the full flow, but I imagine that there is a way to fetch this information on the fly.
I copied this information to a file named badges.json on my system and ran the following command to extract awarded badges.
jq '.data[].badges[] | select( .awarded == true)' badges.json
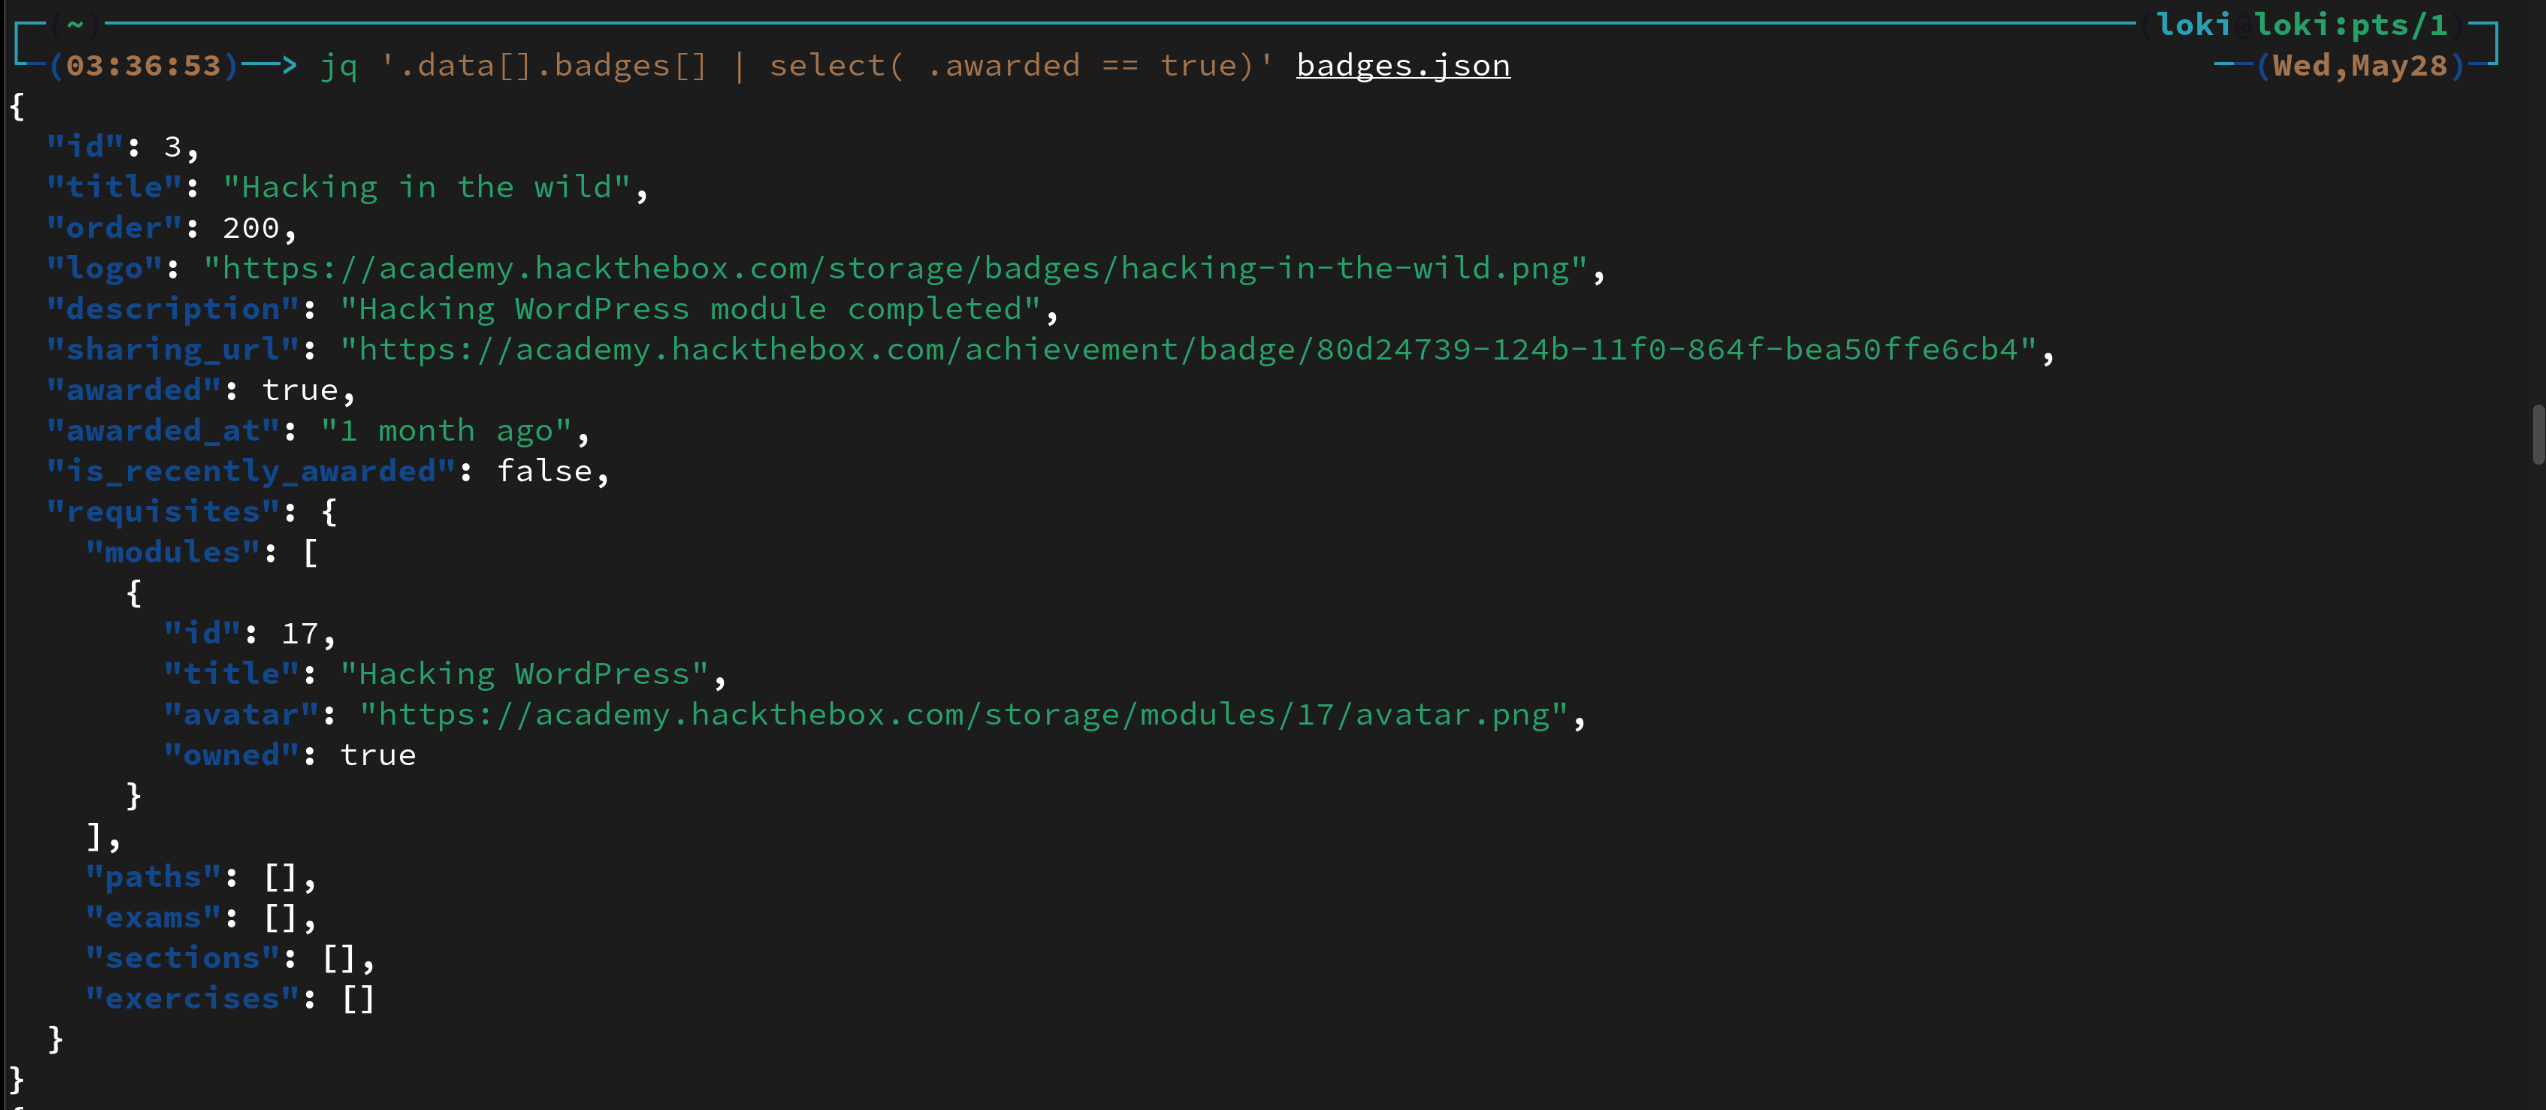
As you can see there are various fields that are very useful. I wrote the following shell script that extracts the logo, title and sharing_url and formats it into a hugo figure object. I also added a class named ‘grid’ as I wanted to create a CSS grid and override the css settings of my Hugo theme.
cat badges.json | jq -c '.data[].badges[] | select( .awarded == true)' | while read f; do
   logo=$(echo "$f" | jq .logo);
   title=$(echo "$f" | jq .title);
   sharing_url=$(echo "$f" | jq .sharing_url);
   echo "{{< figure src=$logo width=250 class=\"grid\" alt=$title link=$sharing_url caption=$title>}}";
done
exit
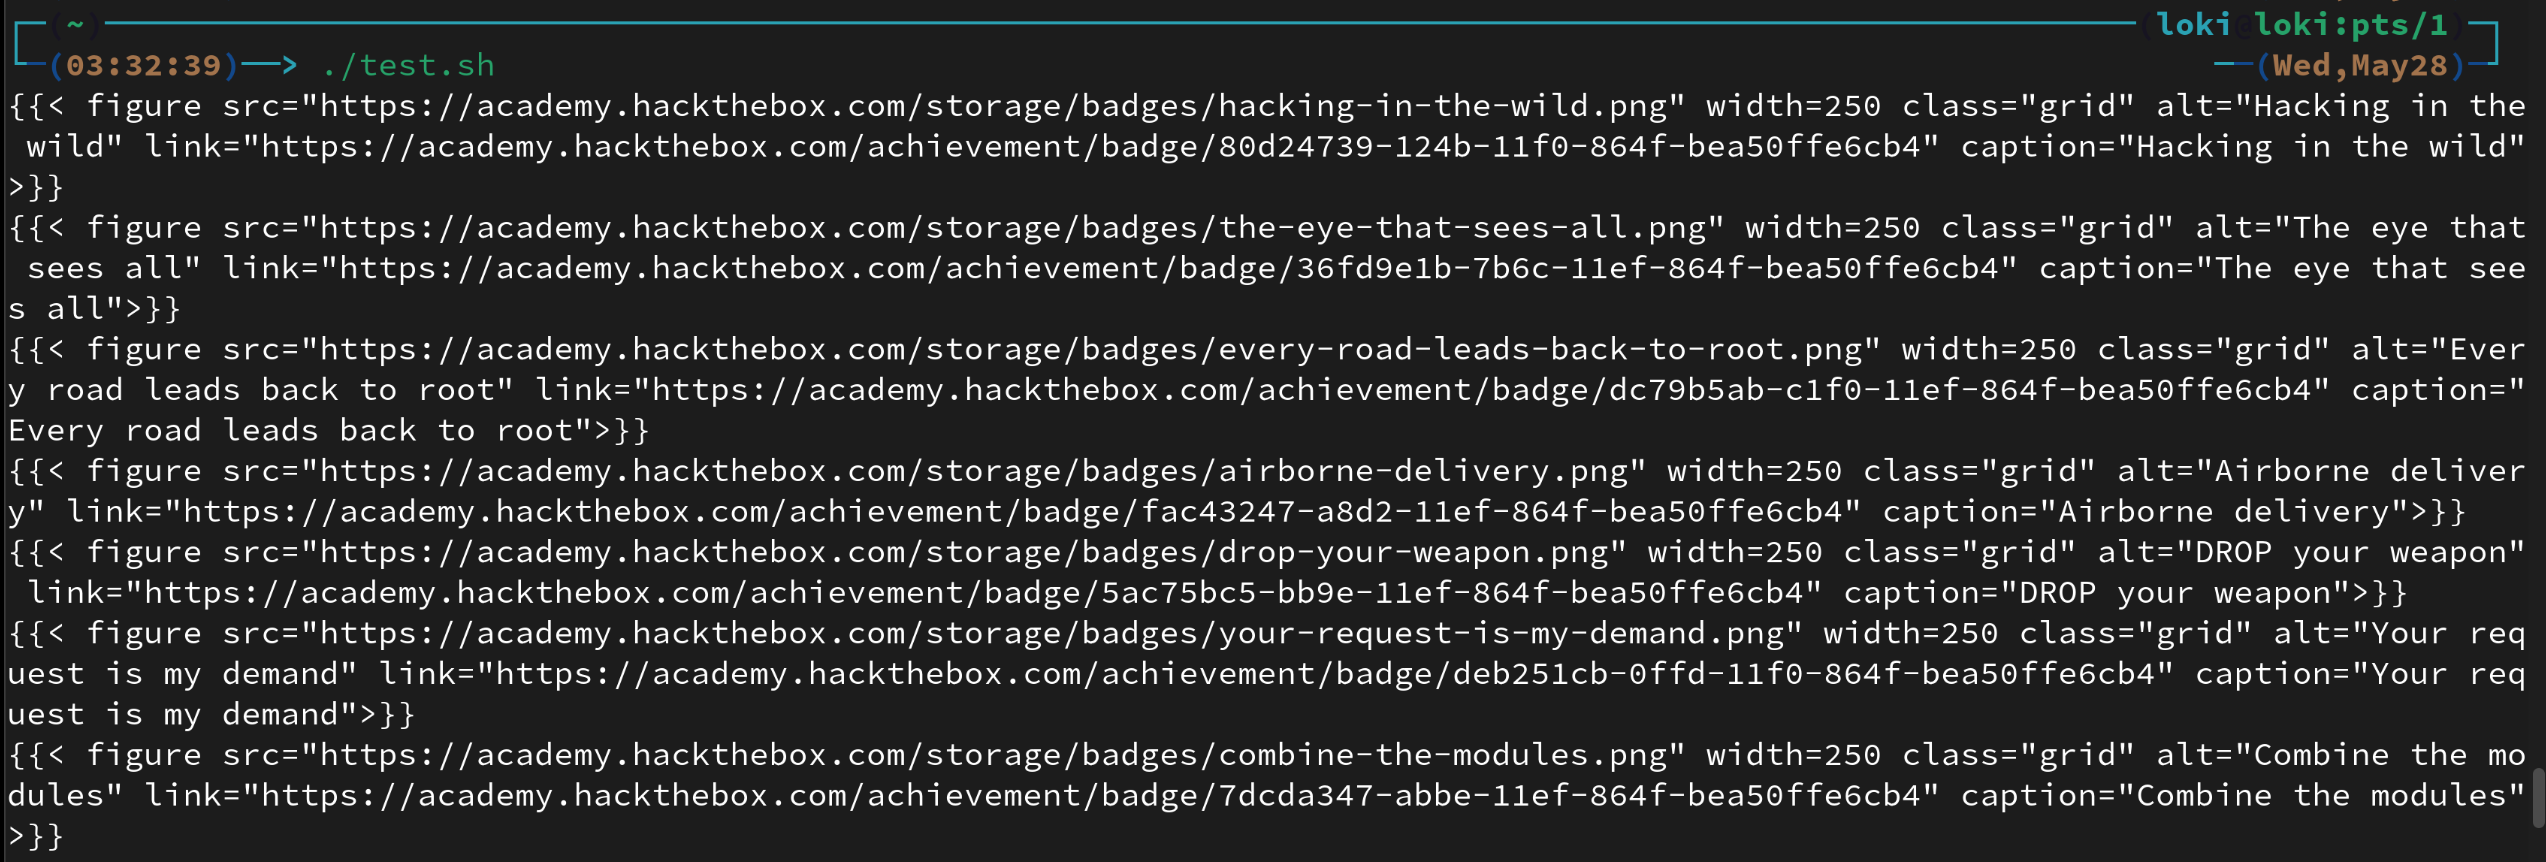
From here, I was able to copy the output into another post, linked here!
CSS Link to heading
I’ll admit, I’m pretty bad when it comes to frontend design, but I’m happy that I was able to figure out the settings needed for the css grid. You can use the following CSS for the ‘grid’ class mentioned above if you’re using Hugo as well!
figure.grid {
   display: inline-grid;
   gap: 5px;
}
Edit: I also added some CSS later in an effort to centre the items within the grid. These changes also make the grid responsive to display sizes.
.content figcaption p {
   word-break: break-word;
   max-width: 20ch;
   text-align: center;
   font-style: italic;
   font-size: 1.6rem;
   margin: 0;
   display: inline-block;
}

@media only screen and (max-width: 810px) {
	figure.grid {
		display: inherit;
		gap: 5px;
	}
}